
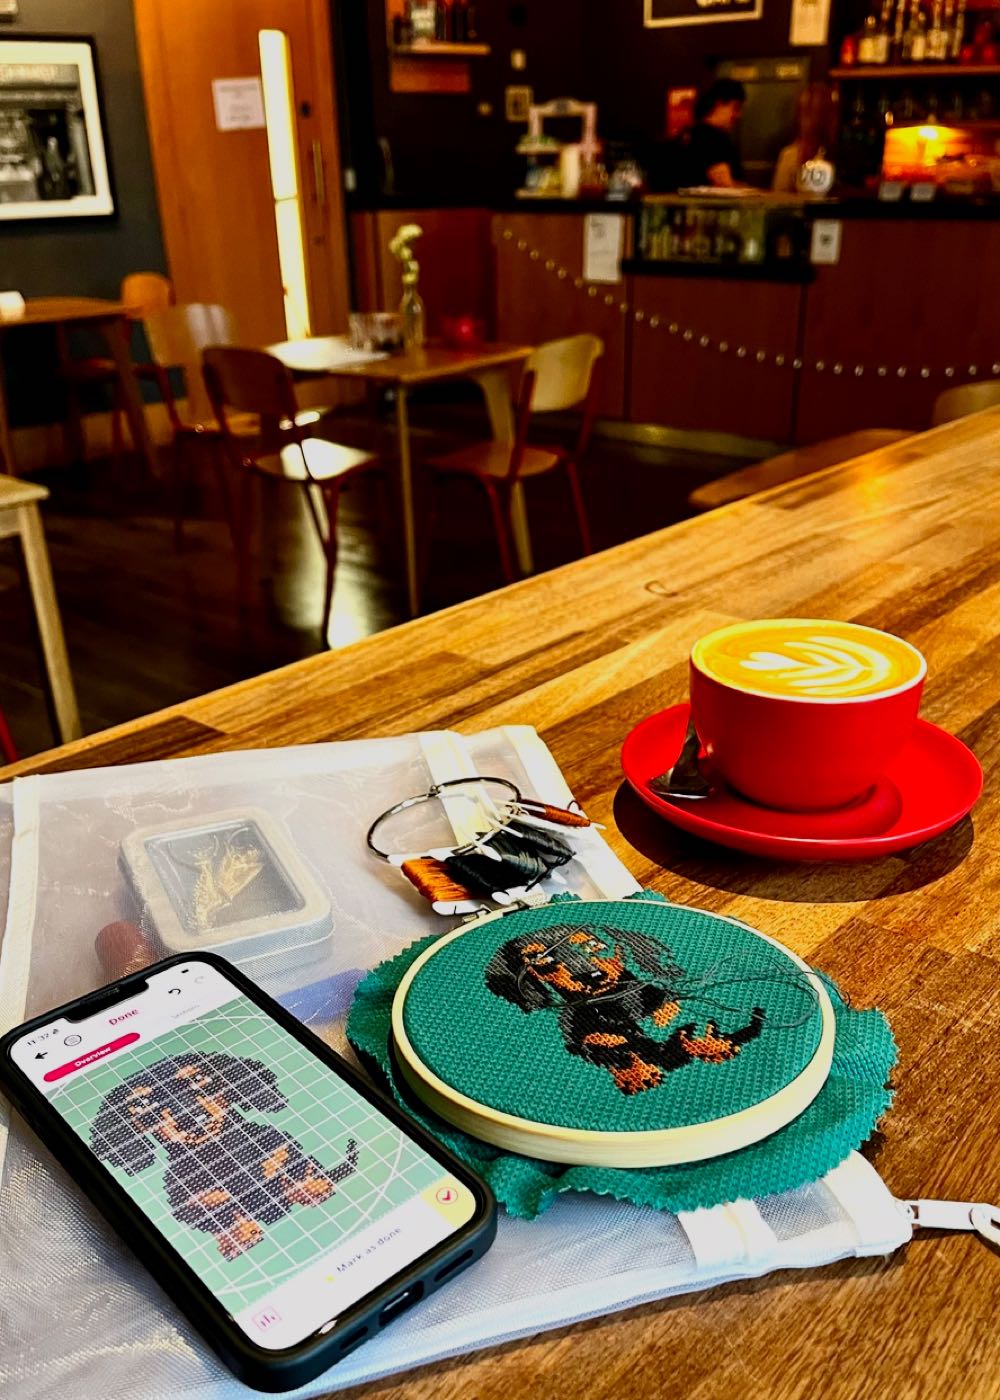
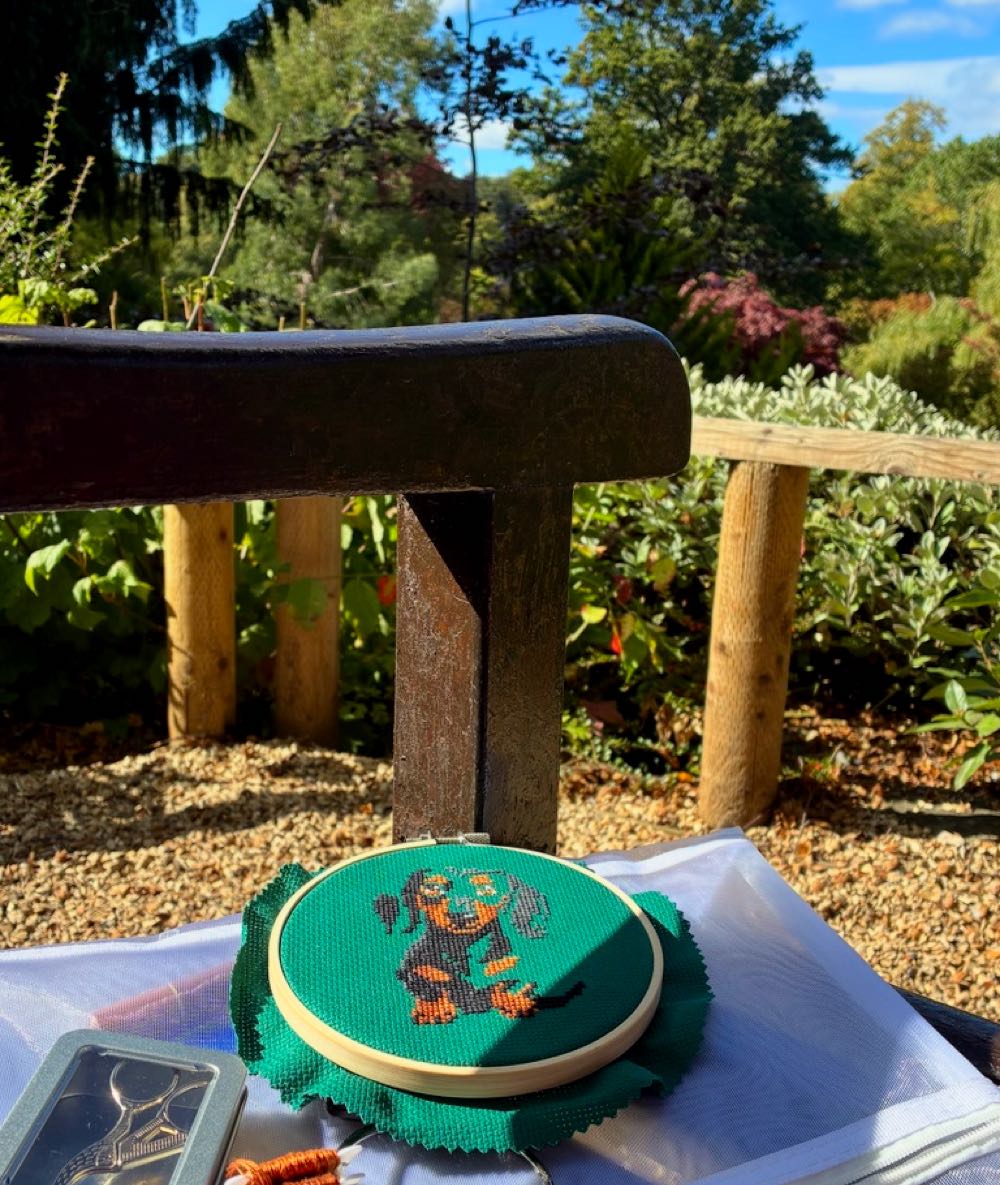
There is something deeply satisfying about slipping a compact cross-stitch project into your bag before stepping out the door. Picture yourself peacefully stitching with a fresh flat white at a local cafe, crossing off rows on a park bench under a bright blue sky, or catching a few tranquil stitches during a weekend break. It is the ultimate way to turn quiet downtime into a stitcher’s paradise.
However, if you have ever tried to wrestle a massive 18-inch scroll frame into a tote bag or spent twenty minutes hunting for a dropped needle under a coffee shop armchair, you know that crafting away from home can quickly turn fiddly.
1. What Makes a Project “Portable-Friendly”?
Before you start packing, audit your project list. Mobile stitching is all about keeping a low profile. Leaving your massive, multi-year full-coverage pieces safely on your stand at home gives you the perfect excuse to start something small and sweet.
- Think Micro-Designs: Look for motifs that fit snugly inside a 3-inch or 4-inch hoop. Mini designs—like a quick dachshund portrait on forest green Aida—keep your hands free and your setup lightweight.
- Limit the Palette: A project that only requires 5 to 10 floss colours is infinitely easier to manage in your lap than an entire organiser box of 50 different DMC shades.
- Avoid Heavy Confetti: Pick designs with simple blocks of colour or solid outlines. Constant colour changes force you to repeatedly cut, bury, and re-thread needles while on the move.
2. Crafting the Ultimate Portable Toolkit
When you’re out and about, bulky accessories only get in the way. Swapping standard tools for clever alternatives keeps your pouch light and functional:
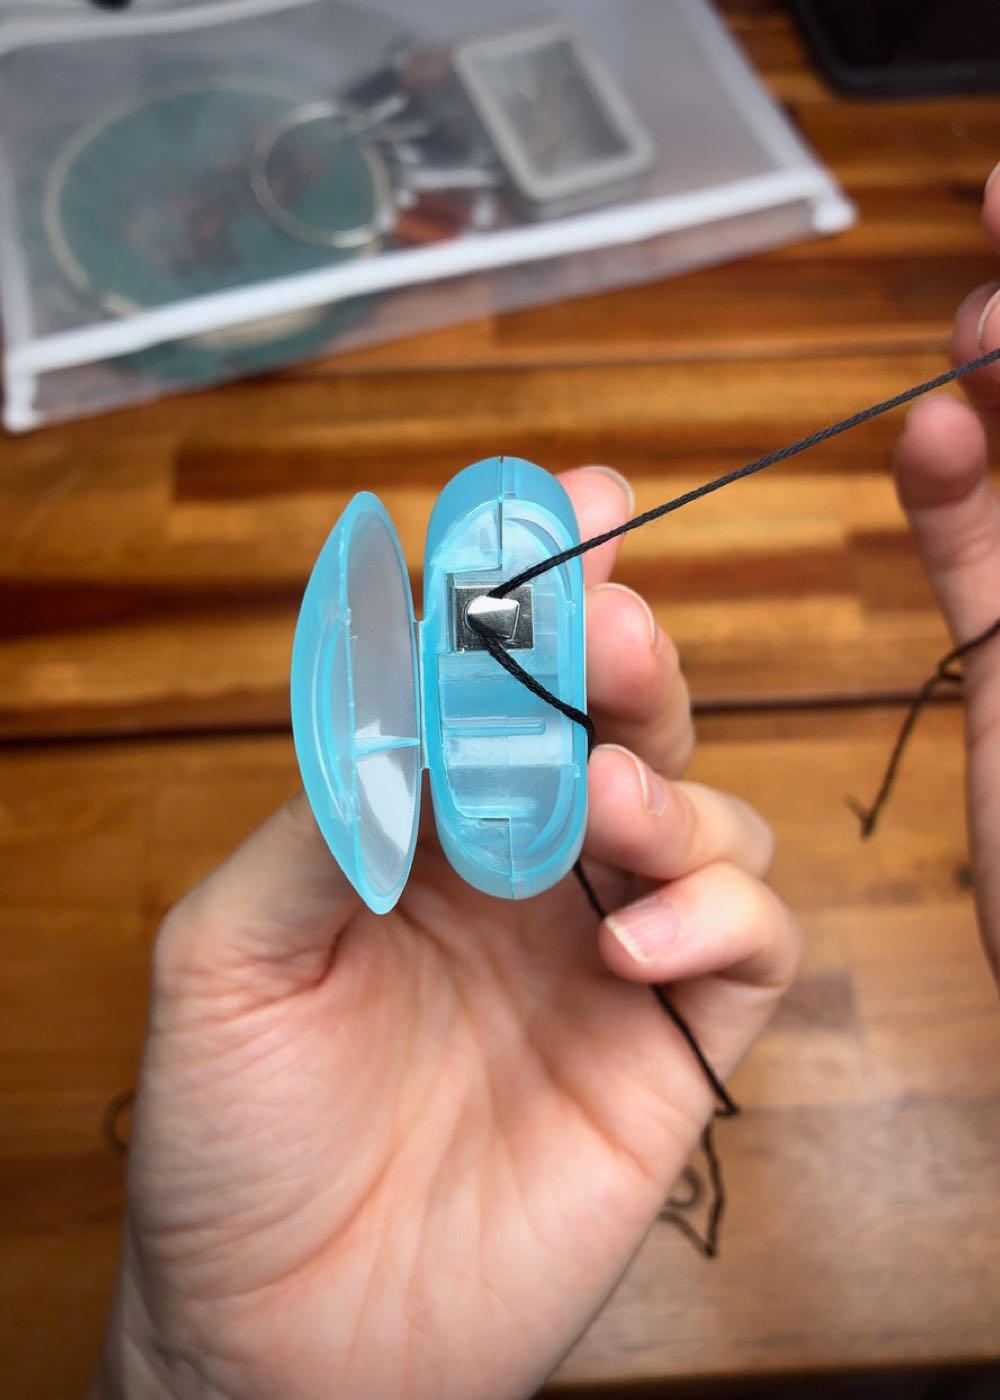
- The Dental Floss Scissor Hack: Sharp embroidery scissors are brilliant at home, but carrying them around town—or taking them through airport security on a flight—can be a hassle. Instead, slip a compact container of dental floss into your kit. The tiny built-in metal cutter slices through 6-strand embroidery thread surprisingly cleanly, keeping your kit completely fly-safe and hassle-free.
- The Non-Negotiable Needle Minder: Dropping a needle onto a cafe floor or through the slats of a park bench is a heartbreak we all want to avoid. A strong magnetic needle minder snapped directly onto your fabric holds your needle safely in place.
- Pre-Threaded Ring Drops: Wind just the thread you’ll need for the day onto card bobbins hooked onto a single binder ring, keeping your threads organised and tangle-free.
3. Managing Your Space in Public Spots
Stitching in public spaces like cafes, parks, or train stations means adapting to small surfaces and shifting environments.
- Use a Transparent Mesh Pouch: Keep your hoop, thread ring, needle tin, and phone in a clear, zippered mesh pouch. Being able to see everything inside prevents you from rummaging around and accidentally knocking small tools off your table or bench.
- Secure Your Workspace: When sitting at a wooden counter or a park bench, keep your loose tools tucked inside your open organiser pouch rather than scattered directly on the seat or table.
- Keep Stitches Seamless On-Screen: Having your digital chart open on your phone makes mobile stitching effortless. You can zoom straight into your current section, mark off stitches as you go, and never worry about losing your place in a busy cafe.
4. Protecting Your Fabric Out in the World
The real world is a bit messier than your craft room desk. Coffee drips, park dust, and natural skin oils can quickly smudge pristine fabric.
To keep your work clean, consider using a fabric grime guard tucked around your hoop. If you are working on an extra-tiny piece, you can also mount your fabric backwards in the hoop so the front surface sits inside the frame well. This naturally shields your active stitches from rubbing against your bag or clothes while you carry it around.
In a Nutshell
Taking your cross-stitch out into the world is one of the best ways to practise slow living. It forces you to pause, sip your coffee, enjoy the sunshine, and watch the day unfold between stitches. Every time you look at that finished piece framed on your wall at home, you will remember the exact cafe, park benches, and sunny afternoons where those stitches came to life.
With a mini hoop, a handful of threads, and a well thought out kit, anywhere with a seat becomes your craft room.
Up next…
 |
Stitching Beyond the Hoop: How to Upcycle Clothes Using Waste and Water-Soluble Canvas Read now › |
Create your own designs
Easily create your own cross stitch patterns by converting images or drawing your own designs using the Stitchly app.
Download now
Try Stitchly now on iPhone, iPad and Android. The full version is a one-time purchase.
Are you a blogger?
Feel free to write about Stitchly on your blog! Please include a link to the Stitchly website so that your visitors can find out more. Thank you 😊
Want to learn more?
Choose a professional designer or one of the guides below to learn more.
 |
Abi Skinner› |
 |
Tatiana Kecskemeti› |
 |
Nic Sworen› |
 |
How to convert a photo into a cross stitch pattern› |
 |
How to draw cross stitch patterns› |
 |
How to sell your cross stitch patterns› |